
GT86-Ian
-
Content Count
1080 -
Joined
-
Last visited
-
Days Won
8
Reputation Activity
-

 GT86-Ian reacted to Omer86 in Ian's GT86
Looks better and better mate. Did you sort out the windscreen too? That must of been a hassle
-
 GT86-Ian got a reaction from Keethos in Ian's GT86
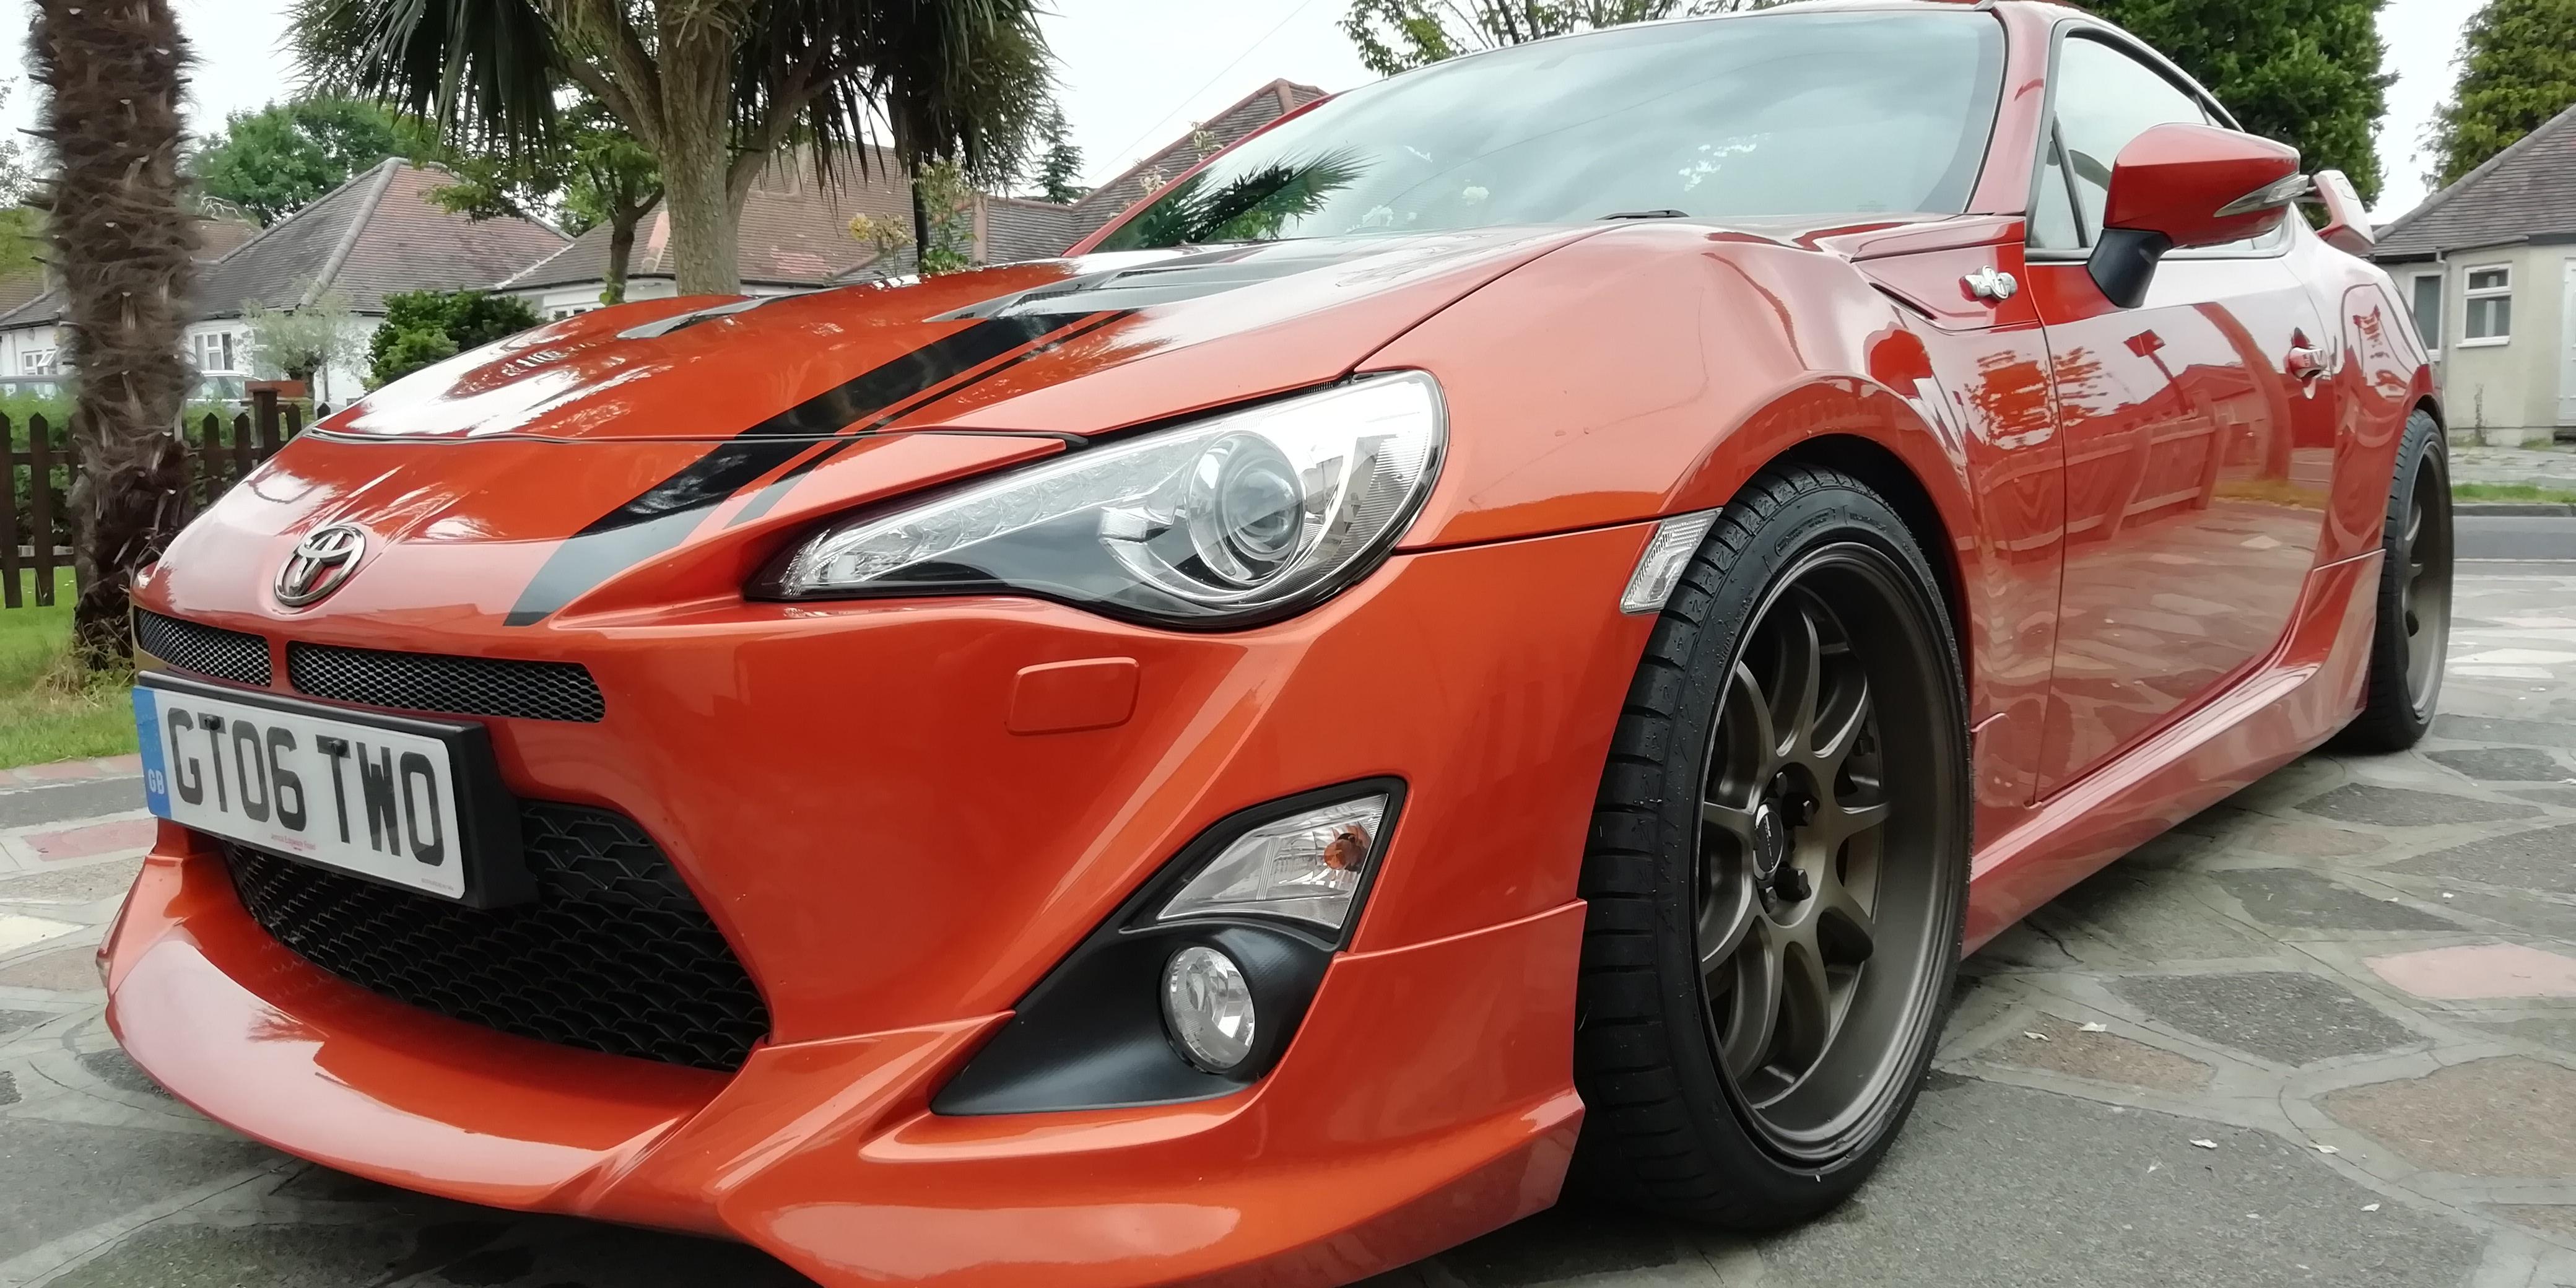
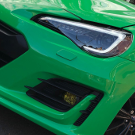
Finally got the dent in the roof fixed, also had the front end sprayed, not 100% happy with the colour match though.
-
GT86-Ian got a reaction from Keethos in Ian's GT86
Finally got the dent in the roof fixed, also had the front end sprayed, not 100% happy with the colour match though.
-
GT86-Ian got a reaction from Keethos in Ian's GT86
Finally got the dent in the roof fixed, also had the front end sprayed, not 100% happy with the colour match though.
-
GT86-Ian got a reaction from Keethos in Ian's GT86
Finally got the dent in the roof fixed, also had the front end sprayed, not 100% happy with the colour match though.
-
 GT86-Ian got a reaction from Deacon in Ian's GT86
Very good Deacon ride is much more to my liking, still need to stiffen it up a little.
-
GT86-Ian reacted to KevinA in TA Brands Hatch
A great day at Brands finishing second by 0.16s but more importantly getting really settled with the car now. Thanks for the help and support from Daniel and Chris at the weekend,and Debs for putting up with my race head moods.
-
GT86-Ian reacted to Keethos in Shelsley Walsh Breakfast Meet (Midlands) - 14th June
A bit late but I took these pics while I was here, after most people had left, thought I'd deliberately park next to this fella to see the difference in colour:
-
GT86-Ian got a reaction from Keethos in Speed Cameras A40
They seem to be installing loads of new type cameras on the A40 between RAF Northolt & the Westway, not sure if these are variable speed.
When working these road markings are lit up.
-
GT86-Ian reacted to Sideways? in Litchfield GT86 Performance Pack
From Aberdeen (location of OP - apparently) pretty much everywhere is South...
-
 GT86-Ian got a reaction from HowardMet in Milkshake at McDonalds
I see both of you need parking lessons
-
 GT86-Ian got a reaction from rob275 in Brecon Beacons - Sunday 31st May
Can only agree with everything above fantastic day ....
-
GT86-Ian got a reaction from rob275 in Brecon Beacons - Sunday 31st May
Can only agree with everything above fantastic day ....
-
 GT86-Ian got a reaction from nikndel in Keethos' GT86 Journey Back To Health + Mods
Don't listen to Nigel what does he know
57Getter's: all the way
-
GT86-Ian got a reaction from HowardMet in VW Golf R400
I know we have a few VW Golf GTI fans on here.
http://www.autoexpress.co.uk/volkswagen/golf/91531/vw-golf-r400-super-hatch-set-for-2016-release
-
GT86-Ian reacted to Keethos in Supercar Siege photos
I've picked out most of the decent pics but there are more pics here if you fancy a look -
GT86-Ian reacted to Keethos in Keethos' GT86 Journey Back To Health + Mods
And here are some pics from it's first weekend out at Japfest and Supercar Seige: The car had sooooo much attention over the weekend and I couldn't have been more happier with the results, people's reactions and comments. -
-
GT86-Ian got a reaction from Keethos in Keethos' GT86 Journey Back To Health + Mods
Cant wait to see this Keith, its going to look great
-
GT86-Ian reacted to matt in Florida Meet
I'm on holiday at the moment in Florida. I've contacting the Orlando owners club and I'm hopefully going to meet up with them on Friday evening. Will post some pictures up afterwards.
Just thought it was kinda cool
Matt
-
GT86-Ian reacted to GT86Jay in GT86Jay's HKS Version 2 Supercharger Install / Mod Thread
I’ve started this thread which will probably be like a small Mods blog as i’ve never really set one up for my car.
I’ve always thought about boosting my GT86 but never really decided on a route or if it would be viable. But after driving Maz’s car a fair bit on the road and once on track it made sense to go the Centrifugal Supercharged route.
For the style of driving and type of roads I drive it made sense. The HKS supercharger to me just feels like a bigger block NA car. You don’t get that sudden rush of power in one peak. It just keeps climbing and climbing. Over 6.5krpm is just awesome!
Being hands on and quite technical and capable I decided i’d fit the kit myself as a sense of achievement and a little personal project with the help from Maz at HKS Europe. We picked this weekend as it gives me the extra bank holiday day and fitted in best with Adrian mapping it at Fensport this week.
We started the install at about 5:30 Friday evening with the plan to get all the prep work and old bits off the car so that Saturday morning we could start fitting the go-faster bits.
The Manual is relatively easy to understand although at times the Japanese to English translation is a little poor. But luckily with having Maz to help he could read the Japanese ones and it all made sense!
First thing is to get the Bumper off and expose the front of the car. Along with unbolting the crash bar as we fit some brackets to this for the Intercooler.
We also remove the bonnet catch and top bonnet support for later.
Also free’d up the Oil cooler and made sure this was out the way temporarily whilst fitting the new parts.
What’s impressive with the HKS kit is the amount of dedication and precision gone into planning the kits. We spent a fair couple of hours adding clips to existing hoses and supporting stock parts for the preparation of them receiving positive boost. Parts like the canister can under the manifold. Usually the hoses are just pushed on loosely. But now they’ll see positive pressure HKS actually supply clips to add to these hoses to make sure they don’t pop off! It would be a real PITA if one popped after install! It just gives a little bit of piece of mind that you’re adding reliability.
Interestingly Version 1 of the supercharger didn’t have these extras! But they added them for Version 2.
Once this was all done and the fiddly bits out of the way we had the car ready to receive boost! We have to add a bracket to the underside of the Crash beam which will be used to support the intercooler so we got this added and in place. This is fiddly as you’ve got to get a nut on the bolt which is half way along from an opening at the end! We got there in the end!
Also had to cut a little channel in the upper bonnet support for the charge pipe to come back into the engine bay.
Next up was fitting the actual compressor to the car. The bracket is very substantial and quality is outstanding. Everything just fitting into place lined up and went perfectly. The bracket basically fits into the existing holes in the Alternator and fits in really well. After a few bolts, belt on and tensioner released we had the unit in place!
We then went ahead and mounted the intercooler in place. It looks as though it sits on the bottom shelf. But it actually hanging from 2 bracket. Its a very good fit and the HKS kit hasn’t failed to impress regarding quality and fitment!
This charger uses a traction fluid system with it’s own oil cooler to lubricate the charger components. A tank is mounted just beside the airbox, using two existing holes in the support just below the bonnet release. After cutting the supplied hoses to length, adding an inline filter and clipping it all on. The traction fluid system was in place along with the cooler, bottle, lines and filter. It's important to get the traction fluid cool and ensure everything is working correctly. As this can seriously damage the compressor if the fluid isn't there as expected!
Now to put the stock airbox back into it’s location ready for the intake suction pipe.
Any airbox or induction that uses the stock intake pipe location should fit with this kit.
Here we put a restrictor plate between the supercharger and the intake air box. The restrictor is a simple plate which sandwiches between the intake pipe and the charger with two gaskets. It restricts the power from the capable 400hp to about 300hp to use on a stock engine block! The restrictor is great as it keeps all the available torque and power low and and just clips the peak power towards the top end. You can of course run it without a restrictor if you dare on a stock engine!
The great thing with this unit is if you do decide to go for a forged engine you can simply remove the restrictor, tweak the map and you’ll be able to produce around 400hp comfortably with the same kit.
We then plumbed in the intercooler which is a fiddly job as there isn’t much room, especially if you have the oil cooler installed too! This kit was obviously designed, tested and fitted in Japan where they do not have HID headlights also meaning they haven't got the headlight washers! Which actually get in the way a fair bit on the UK cars as the headlight washers sit just where the pipe wants to naturally sit. But after some persuasion and careful positioning it does all go back in and the headlight washer still works.
Moving on by connecting up the throttle body intake pipe from the intercooler. This bit was straight forward. The pipe sits in the neat hole that was cut earlier on in the process. All connecting up and on the throttle body. We have a completed plumbed in Supercharger.
We have to take a vacuum line from the vacuum brake line so that the Recirc valve can work. For this we simply take a T-Piece in the original vacuum line and connect it to the valve.
At this point the install is done! We topped up the traction fluid tank. Fired it up and ensured there are no air leaks and fluid is circulating ok.
Starts first time and the sound is just fantastic. A real rushing of air and breathing sound!
One with the final bits like the bumper, and side indicators etc. And it’s finished!
All together it took us around 12 hours with two of us working on it. What helped was Maz’s ability to know stuff as he’d already done it on his car. Little tips and tricks to make things easier and the knowledge of knowing what we we’re un-doing was correct! The manual makes it easy as the install is split up into smaller chunks of work. So you’re only ever aiming for one goal at a time. Such as ‘Fit the intercooler’ - ‘For this you will need’. Rather than tackling the entire project with all the bits in one go.
Off to Fensport today for the map! Once i've driven it with some boost i'll report back
-
GT86-Ian reacted to Snowdrift in Snowdrifts 86
Thought it was about time i started a project thread. I bought my pearl white gt86 with black leather 8 months ago new from the dealer and have changed a few things on it in that time so this first post is a bit of a catch
We all know what a white 86 looks like so I don't need to put of a stock pic
Excuse the crappy quality of some of these photos, they are just what I had on my ipad.
First thing I changed was the wheels. I know some people like the standard ones but to me they look like something straight off the shelf at halfords. I had some Work emotion XT7's in black that I bought for a previous Subaru in 18x7.5 +48, not ideal offset but temporarily sorted with some bolt on hub centric spacers 20mm front, 25mm rear.
Next was time to get rid of the dreaded arch gap. At this point I was trying to keep it simple and hadn't really planned to modify too much in the first year so I just went with spring rather than coilovers. Eibach sportline's in particular. I think they sit at the perfect height, no gap but can still clear speed bumps.
Then what I thought was going to be my final mod for the immediate future, getting rid of the last thing I really don't like on the car, the bad boy Lexus tail lights. There was really only one choice here, Tom's. To me they are exactly how the car should have come from the factory.
And a TRD gear knob because I was bored on eBay one day
Then came a quick photo shoot with a mate that's an amateur photographer.
And that was me done for modifying this year....or so I thought. A month later and I had money burning a hole in my pocket, with nothing else I really needed I decided to treat the car to some new rags.
After looking at pretty much every lip kit available I decided I actually liked the TRD kit more than the others, it has that GT car aggressiveness that I'm aiming for. I couldn't justify the extra cost of the TRD when buying new because I'd be changing the wheels an you can buy the kit a hell of a lot cheaper separately. Having problems with fitment on aftermarket body parts in the past I decided to stick with the proper TRD kit from Fensport (fantastic to deal with). The plan was to just order the front and rear lips and side skirts but of course that didn't happen. Ended up buying the TRD spoiler, front canards and a Beatsonic shark fin while was on.
And this is how she stood after
The standard exhaust was looking a bit lost in the TRD bumper so I bought a new TRD back box and partially debadged the rear. Much better.
Again I hit a point where I thought I'd leave it alone for a while ( I should have known better at this point). Alas last night I decided to bite the bullet and go down the forced induction route, the standard power was fine at first but I feel it could do with a bit more to make me truly love the car.
I'm currently deciding which route to go and if you have any experience with either turbo or supercharging I'd love to hear any advice.
All I know is I want it done soon because I have the impatience of a child
Thanks for reading,
Mike.
-
GT86-Ian reacted to Kesler in Kesler's Pearl White 86 Diary
Exhaust mounts nicked from the OEM system, silicone joint thingy applied, and on goes the new exhaust. I'd say the biggest difference is the OEM system has the pipe coming from the side (shorter side) of the backbox, bending round to join the centre section. The new system comes straight out of the back, and the joining pipe bends around the rear subframe. Different, but hey - it works.
Gasket fitting. Phil doesn't always look surprised like this you know, perhaps it's when I went "BOOM PHOTO" right to his face when I took this.
Time to use the supplied bolts to fit everything together:
And that is when I realised the supplied bolts are a heap of junk, the moment we torqued the bolts up, this:
Phil sorted me out with some stronger nuts and bolts and on we went, and then one last check with the exhaust:
And voila - we're done!
IMG_6670b by Andy Liu Photography, on Flickr
-
-
GT86-Ian got a reaction from Tweedbean in Coil Over kits
you can fit the EDFC Active Pro system to the Streetflex Z not that Tein have any in stock.