-
Content Count
468 -
Joined
-
Last visited
-
Days Won
9
Content Type
Profiles
Forums
Calendar
Store
Everything posted by Tweedbean
-
Looking good, any plans to get this on a dyno to see what increase there's been?
-
Not a fan
-
Thanks for the information above, that was the sort of thing I meant. Its nice to even just see a list of moderators so we know who you all are
-
Hi guys I am working on a little something with a friend and I was looking for some info from everyone. What sideskirts are you currently running on your GT86/BRZ? If you view this thread please vote, even if its just to say none as this information will be really helpful.
-

Keethos' GT86 Journey Back To Health + Mods
Tweedbean replied to Keethos's topic in Projects & Builds
Quick photoshop stripe idea with three stripes, I like the vertical trim under the stereo painted aswell. -

Keethos' GT86 Journey Back To Health + Mods
Tweedbean replied to Keethos's topic in Projects & Builds
Keethos, for a little inspiration here are a couple of dashes from my old minis. I wanted something that was different and the mini has a similar flat dash you can paint, wrap etc to the 86. Stripes, as you mentioned above can work: P1010932 by James Baker, on Flickr I also had alcantara with coloured stitching to match the stripes: P1000398 by James Baker, on Flickr Interior by James Baker, on Flickr P1010683 by James Baker, on Flickr P1010920 by James Baker, on Flickr All done to match the exterior at the time: Bum shot by James Baker, on Flickr Then in the clubman I went for more subtle but effective with a mix of alcantara and leather, highlighted with red stitching. Also you can see my custom gauges. I am having this done in my GT86 or something similar: New Gauges by James Baker, on Flickr New Gauges by James Baker, on Flickr New Gauges by James Baker, on Flickr Alcantara and leather interior panels by James Baker, on Flickr Untitled by James Baker, on Flickr Fitted interior bits by James Baker, on Flickr All done to compliment the gold wheels and red brakes from the exterior, a subtle colour theme on the inside: Pictures courtesy of evil by James Baker, on Flickr -

Keethos' GT86 Journey Back To Health + Mods
Tweedbean replied to Keethos's topic in Projects & Builds
Keethos I like the idea of what your doing, but not a massive fan of fake carbon fibre, especially as you have the real deal elsewhere on the car. I think getting them painted liquid yellow would look much better and you don't have the issue you see with peeling etc. The fake carbon wrap/hydro dip carbon looks cheap compared to the great work you have done on the outside of the car. Obviously this is just my personal opinion so you can ignore me completely and do what makes you happy. -
Hi all has anyone purchased the black interior bits such as the traction control switches as seen in the attached image? I am looking to paint the trim pieces but that wouldn't work on the switches so I wondered where people had ordered them from? I think they are standard on the Australian 86. Thanks in advanced.
-
Thanks for the votes so far keep them coming, ps this isnt to help me decide which ones I am getting
-
Great idea getting the thread in place as I was going to start asking those exact questions as I am keeping an eye out for a pair of front calipers to come up on eBay or one of the many Subaru swap pages. Any idea of a rough refurb/rebuild cost as a lot of the used calipers coming up are looking tired, so it would be good to know how much on top of the initial caliper cost someone may need to spend. Thanks
-
I need to get one of these as mine is looking a little old now plus it isnt low entry like that one.
-
I was really tempted to fit the front and over pipe yesterday but I held off so I can do it all at once. Cant wait for some noiseeeeeeeeeeeee
-
Thanks, I am really pleased, another bonus is the gold is close to that on the Beatrush brace I already have in the engine bay. It also works well with the red on the interior and engine bay. When I get some big brakes, I am thinking Impreza STI brembos to go under those wheels, I am not sure if to go with subtle black calipers with gold logos or red calipers with gold logos. I've got plenty of time to think as I haven't sourced any calipers yet. On the fog lights, it was really easy to do, a 10 minute job with tools being a heat gun and a sharp blade for the laminx.
-
Me too
-
Cracking purchase again, I cant wait to see this car up and running.
-
Hi all I need some tips on camber adjustment on the Teins. Until I get the other suspension components for a proper setup, I want to adjust camber myself. On previous cars I was lucky and didnt need to however since lowering the 86, the rear has negative cambered naturally due to it sitting lower, where as the front still has zero camber. I want to add negative camber to the front for now to get it matching the rear and wondered how much to add, I wasnt sure whether the lines on the top mounts were 1 degree each and roughly what I would need to add in the front. Tein Flex Z Coilovers for the GT86 by James Baker, on Flickr The car is now up in the air as the wheels are going back on so I thought it was a great opportunity to sort it. I have loosened off the allan key bolts and the camber is easily adjustable, so any tips on how much would be appreciated. Not the best photo to show rear camber currently but will give you an idea: Lowered another 10mm on the front by James Baker, on Flickr
-
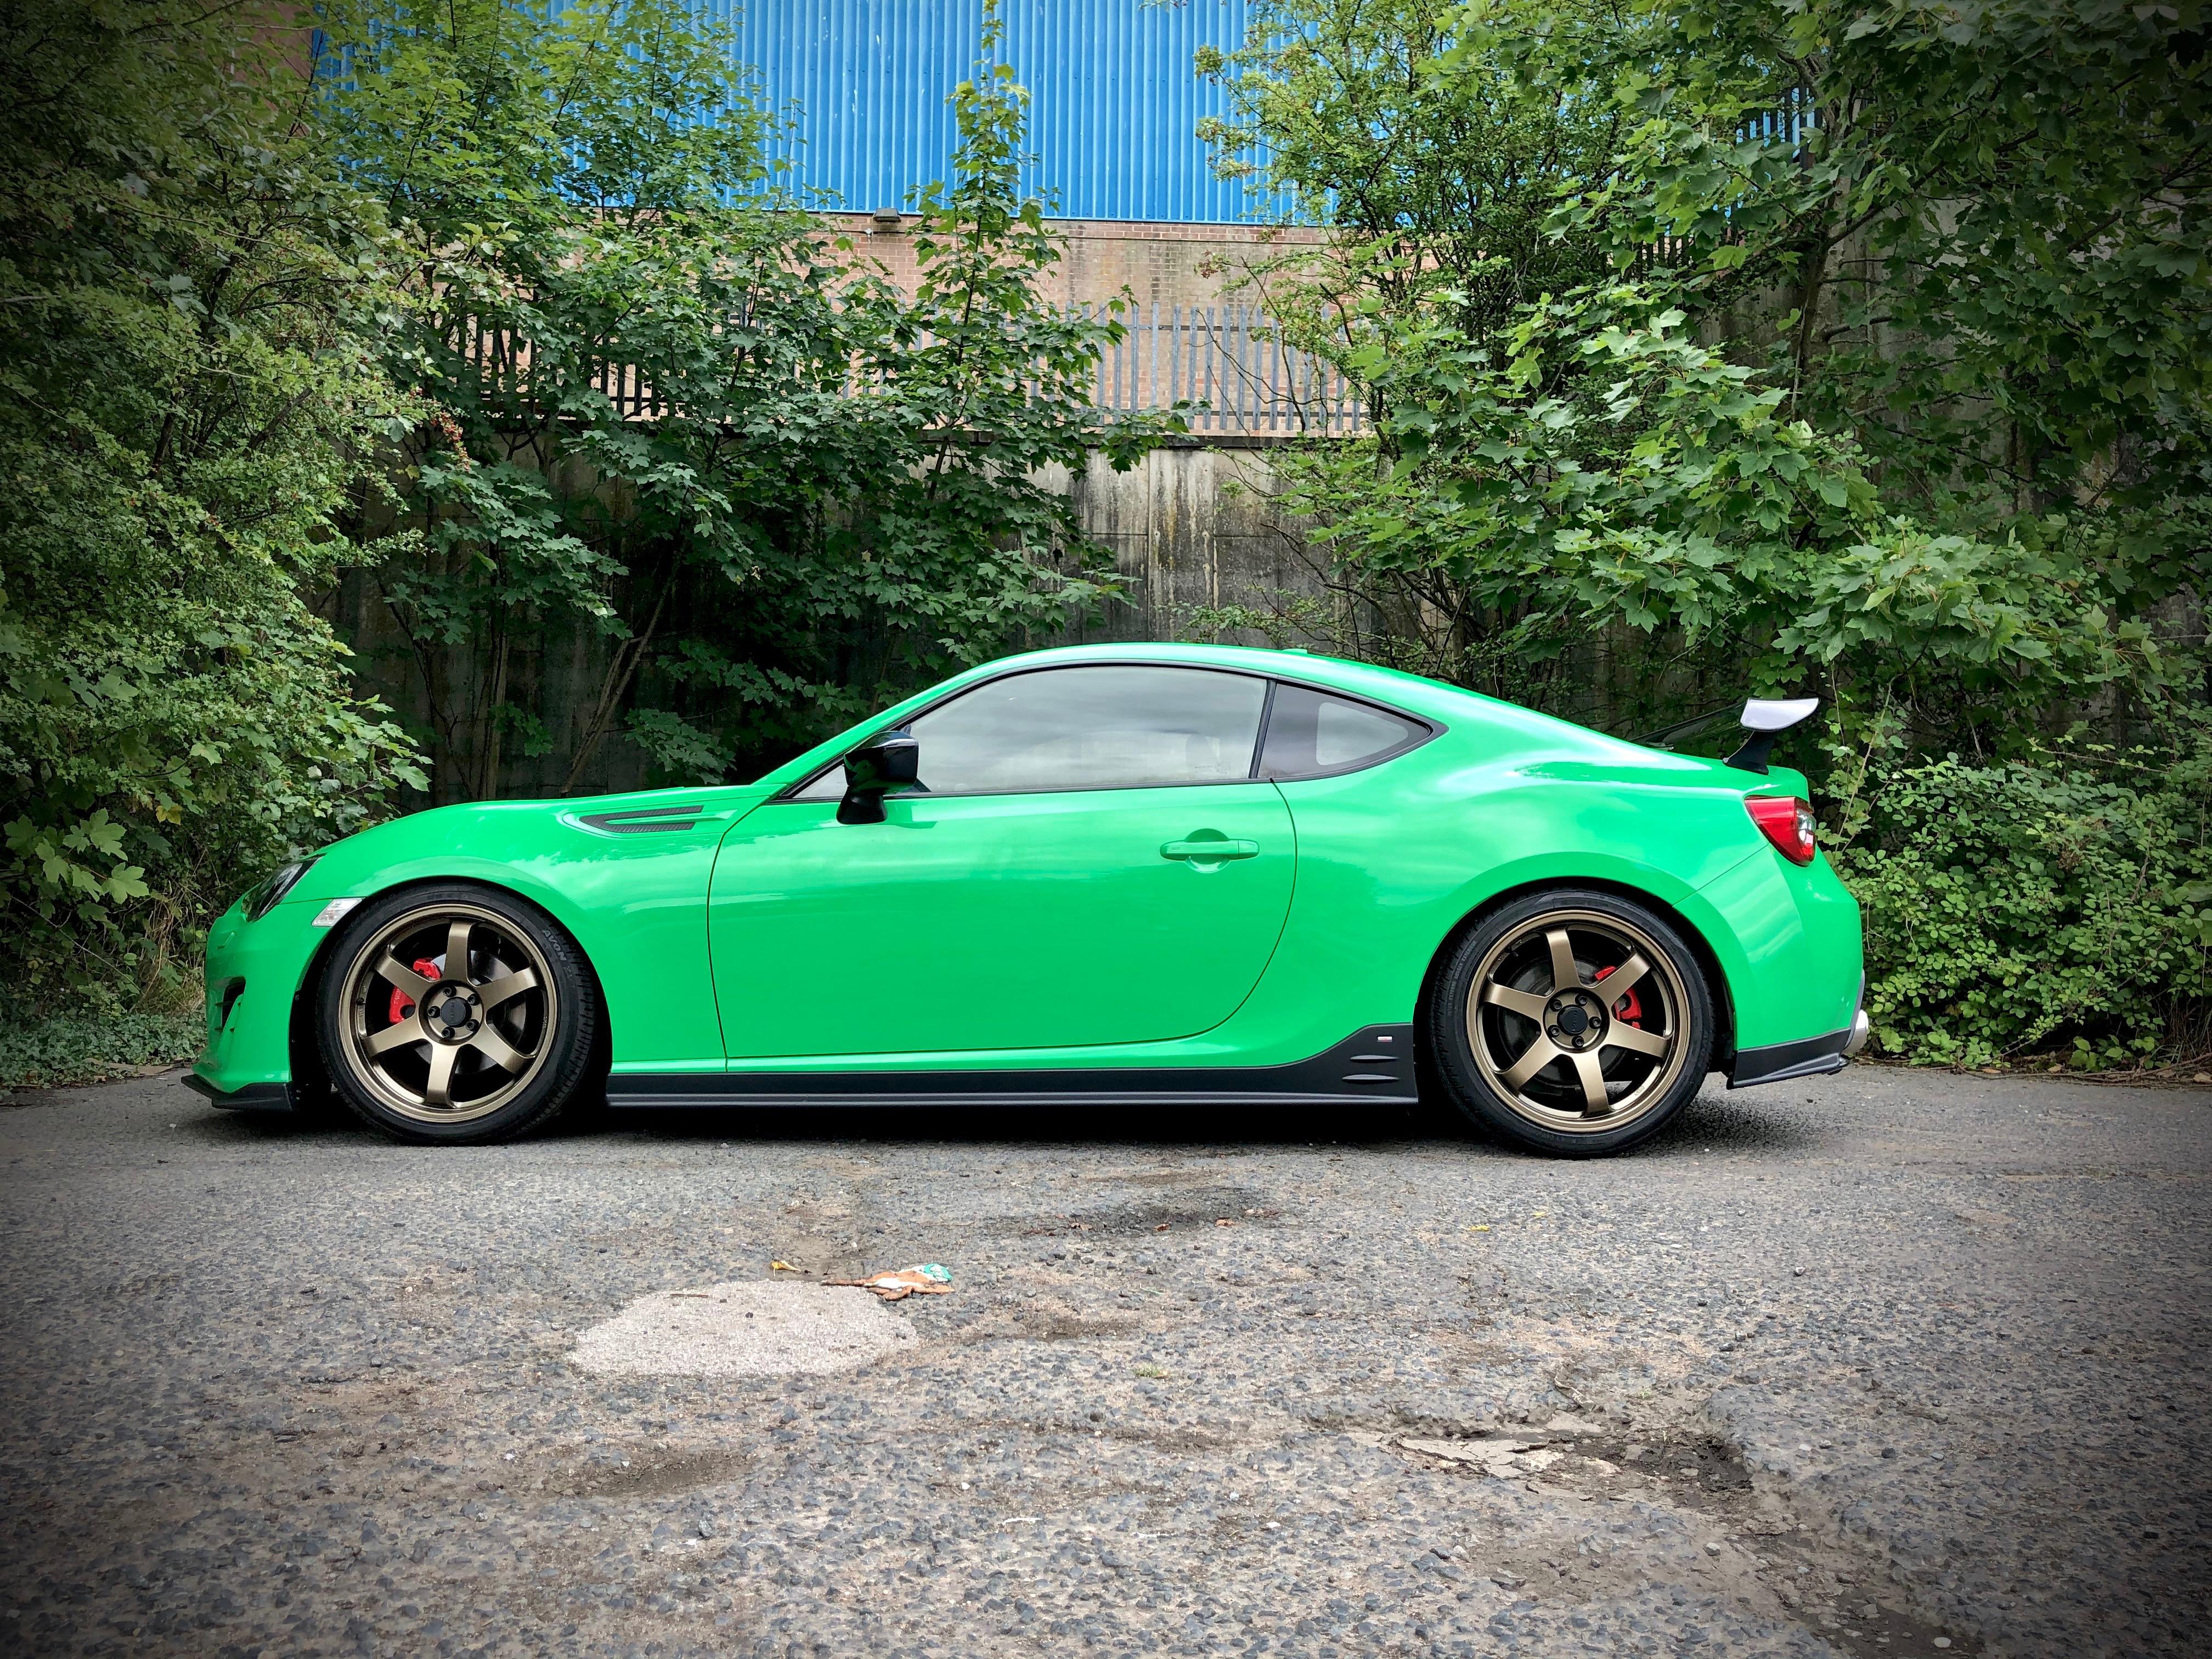
Just need to get them over to the bodyshop but I am short on time at the moment. My wheels are back Yesterday I collected my wheels from the powder coaters after they had done a FOC colour change. I decided to change colour as the green was just too light next to the white paint work. I had done many photoshops and got down to 3 colours orange, pink and gold. After a number of conversation and going down to the powder coaters I settled on gold as the pink and orange just didnt look right when I held their samples wheels next to my car. On they go Today I rebuilt the wheels and got them fitted. While up in the air I maxed out the front coils to level it off with the rears, I spaced out the rear wheels 5mm to get the same fitment as the front and I added negative camber to the front to again replicate the camber on the rear. All little niggly things that I wanted to get right. Back from the powder coaters: Back from the powder coaters by James Baker, on Flickr Rebuilt and ready to go, I think the red centres do work better with the gold, I am awaiting a replacement one in the post, hence only three in this picture. They went together a lot easier this time around. Laminx Fog Lights While in the air I pulled off the front fog light surrounds and tinted the fog lights yellow, im not 100% sold on it just yet, but I will leave it for now and see if it grows on me. It didnt cost anything as I had some yellow laminx left from the clubby: The covers popped right off by James Baker, on Flickr Laminx Fog light by James Baker, on Flickr Glad to see the Teins still look like new: Still look like new by James Baker, on Flickr The finished article: Front by James Baker, on Flickr Rear by James Baker, on Flickr Goodbye rake: Side by James Baker, on Flickr Wheel close up by James Baker, on Flickr Engine Bay by James Baker, on Flickr I am really pleased with the new look and they way this car is going.
-
Thanks I will be taking it to a mates garage for a proper alignment, just wanted to see what I could sort while its in the air.
-
Ha no worries, I got there in the end.
-
Does anyone know if you can remove the fog light surround, pictured below, without removing the front bumper? Does it just pop off with trim tools?
-
For anyone attempting this at any point, they do simply just pull out from the front, they clip in and there are no bolts/screws holding them in. This makes my life easier, thanks for all the advice above
-
Hi all, I am going to attempt to do this myself using axle stands. Does anyone have any tips for this job? So far I have found these guides: http://www.ft86club.com/forums/showthread.php?t=8121 http://www.ft86club.com/forums/showthread.php?t=32101 I've ordered an O2 sensor socket and some penetrating oil to help out. I already have a socket set etc. I am fitting a scorpion front and over pipe with Borla UEL header, is there anything else I need? Do I need any replacement nuts and bolts as I am sure I read somewhere that one of the stock pipes has the studs welded on, if so what size do I need?
-
It's mad considering they have a 100% will fit promise on their eBay ads
-
Can't wait to get it fitted my last two cars have been fully decatted both, r53 with a supercharger and r56 with a turbo. I like it loud
-
Talking about RB kit, I was with your friends at Knightracer today They had the stock wings for sale as they had removed them to fit carbon replacements. Not a great location for parking, its very tight, they had a lot going on in such a small workshop.


